MAKE THE WORLD SEE
Empowering people, businesses and societies with data-driven video technology
We provide actionable insights from video data through the perfect combination of your cameras and sensors and our open platform software and analytics – always with a responsible mindset and a people-first approach.
The foundation of high-performing video solutions
Ideal for any industry
Discover how video technology can empower businesses, people and society.
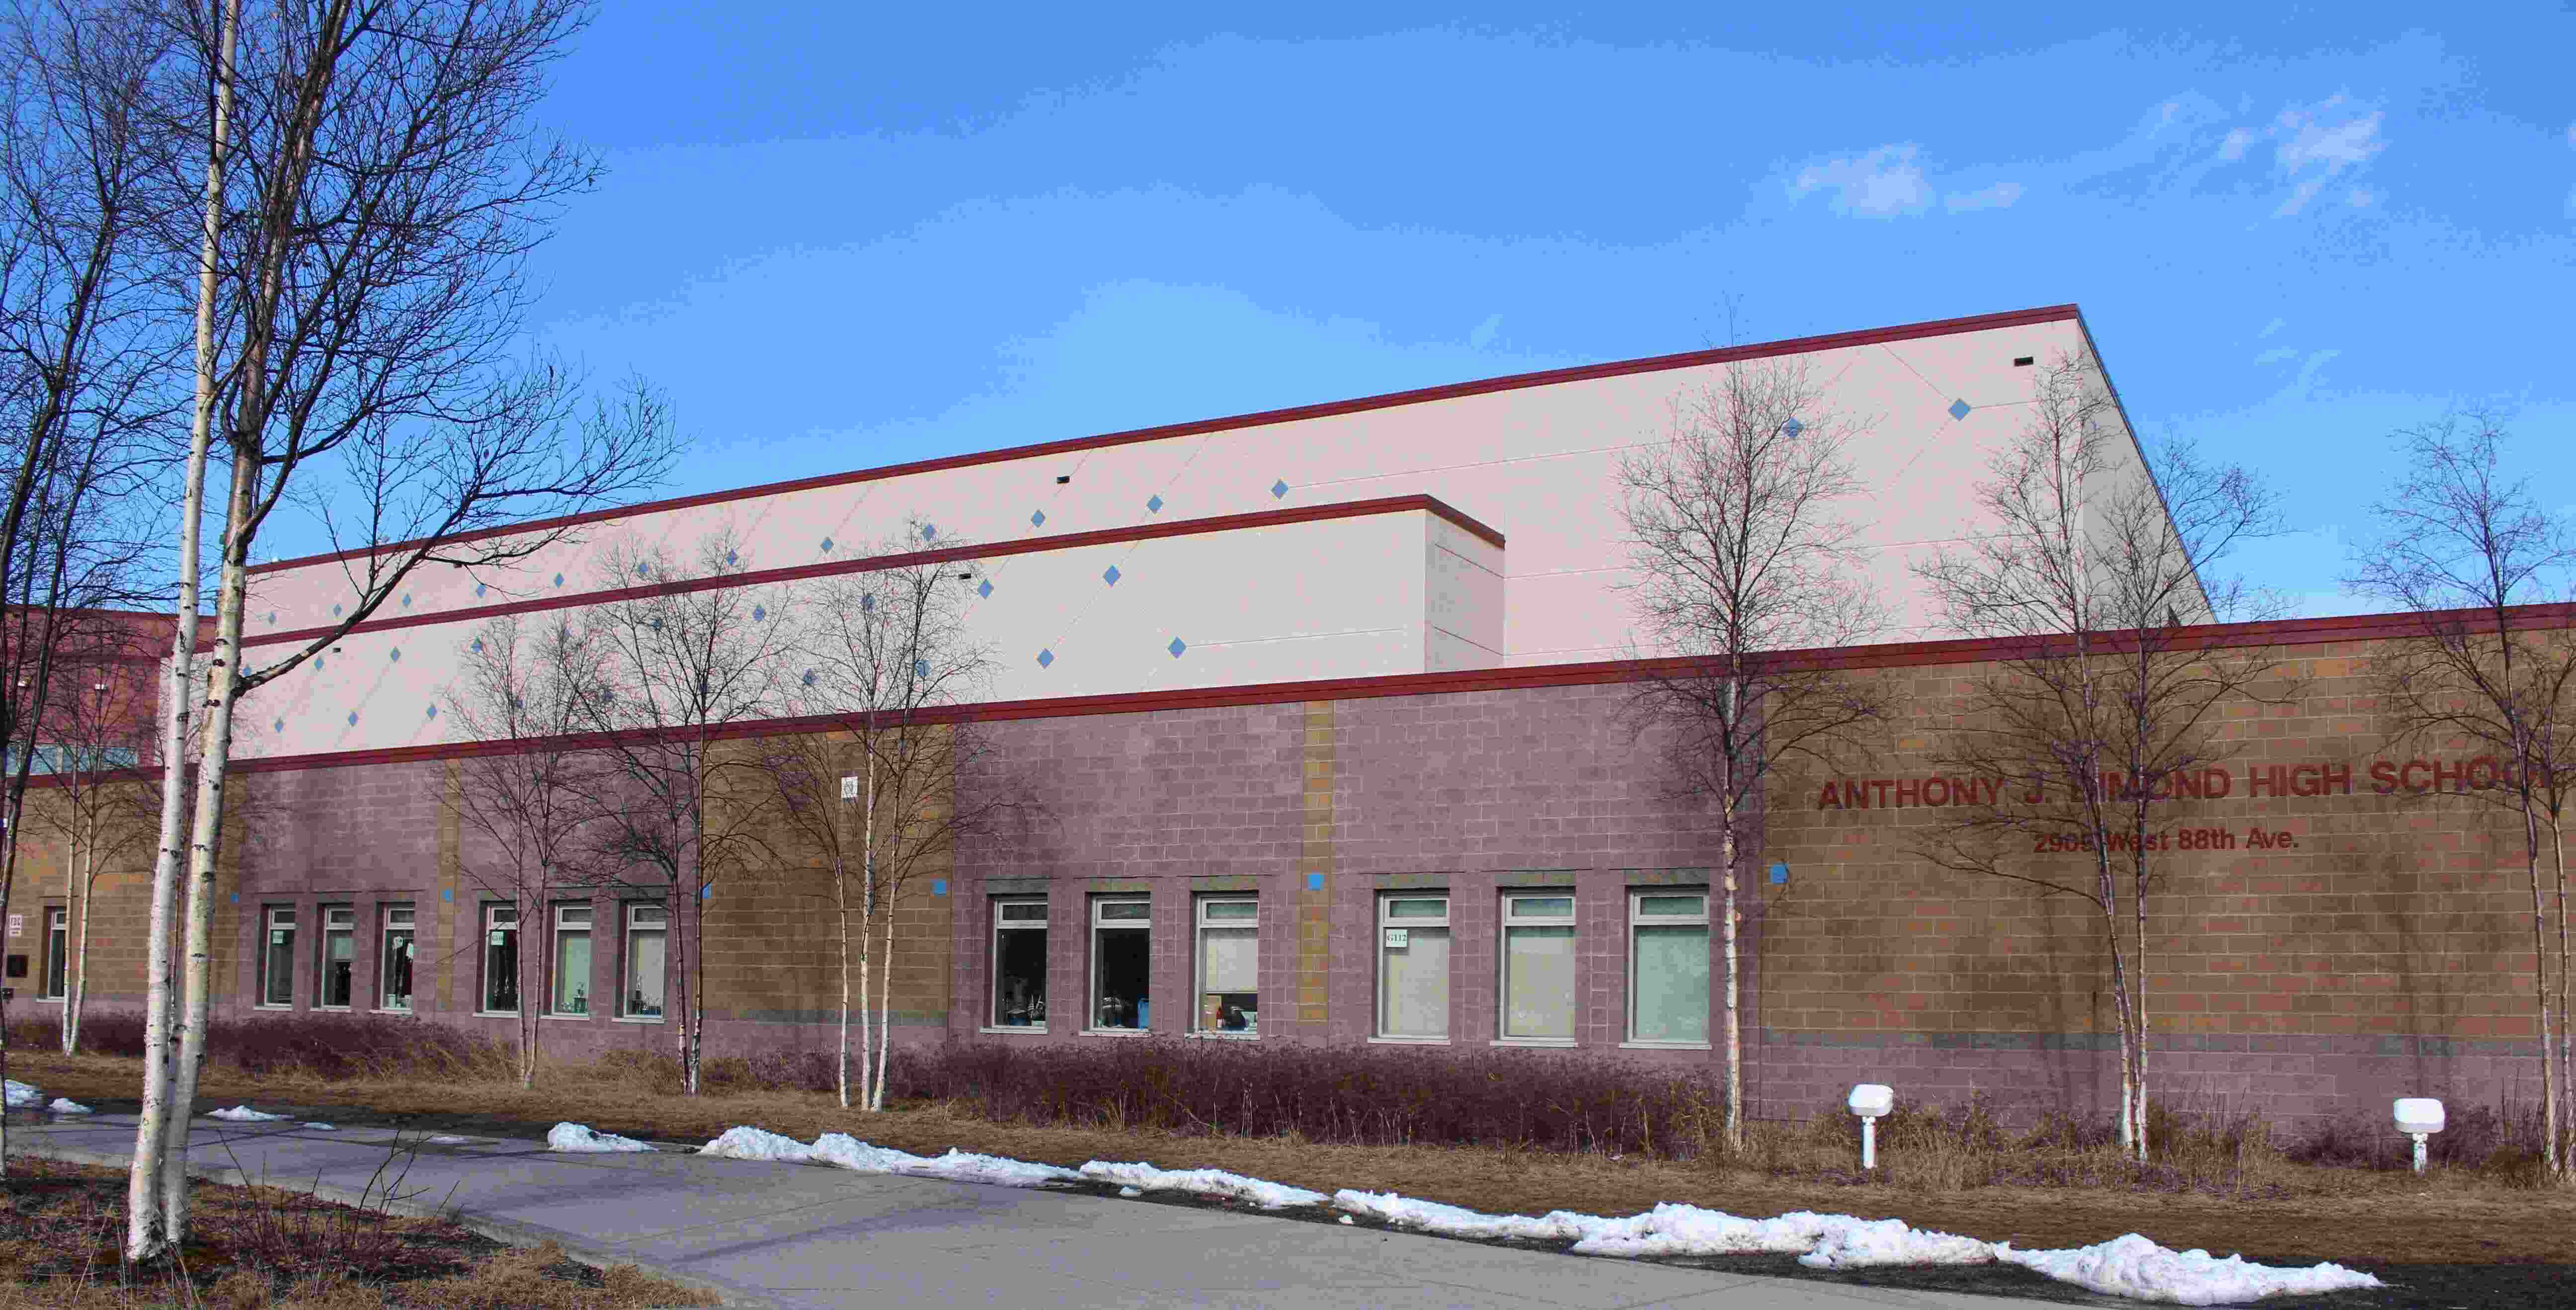
CUSTOMER STORY
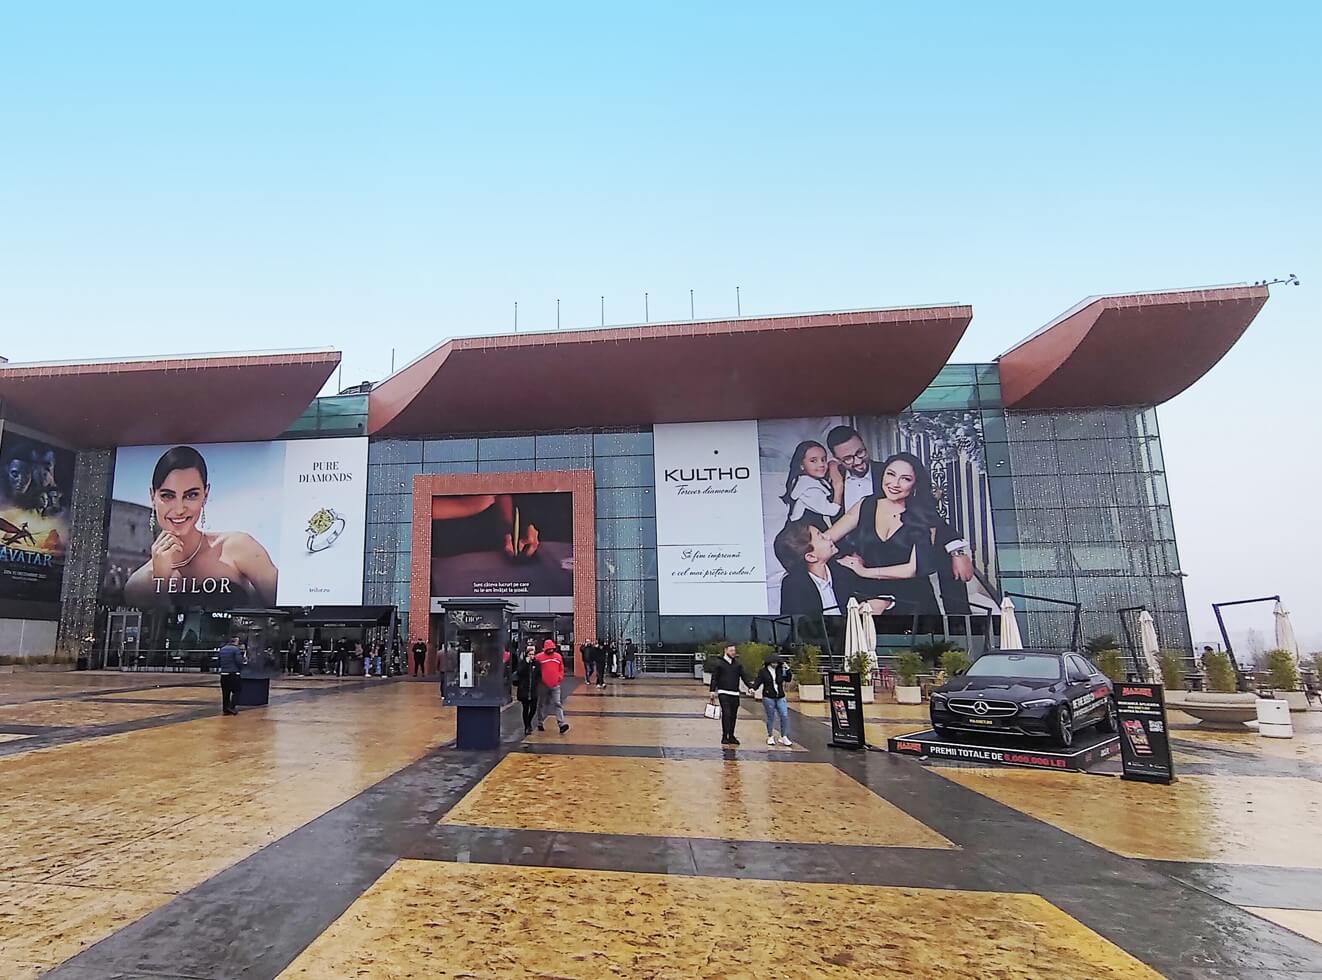
CUSTOMER STORY
Experience Milestone in action
Be inspired by customers stories showcasing how Milestone video technology is adding value to organizations in a variety of industries.


Why choose Milestone?

Fully configurable and future-proof
XProtect's open platform architecture allows it to be tailored, scaled and updated as your needs develop.

Reliable performance and safety
As well as minimizing downtime and improving ROI, our platform offers extra peace of mind through matchless support and cybersecurity.

Collaborative and service-minded
Build the best-performing video solutions using the products, services and expertise of Milestone and our global partner network.

Responsible and people driven
Employ video technology ethically and compliantly while exploring new ways to improve people's safety, happiness and health.
Get in touch with us

Ready to see what we have to offer with smart video technology?

If you have questions, want to become a partner or need help.